You have created a website and added your products and services to it. Now you want to start accepting online payments for the products and services on your website. For this, you need a payment gateway and you need to know how to add a payment gateway to your website.
How To Get Payment Gateway for Website
There was a time when getting a payment gateway was a long and difficult process. At the time payment gateways charged one-time setup fees and annual maintenance fees. Per transaction charges used to be in the range of 5%-7%.
Today with the arrival of many payment gateways in the market the competition has heated up and the race for signing up new customers is on. You benefit from this competition by getting zero setup fees and no annual maintenance charges. Per transaction, charges are now in the 2%-3% range.
See: Instamojo payment gateway and online store offers via iWebz (payMyPage)
However, most payment gateways still only allow signups from registered businesses, leaving only a few for freelancers and micro-businesses. Before signing up with any payment gateway always check if they support your business type.
The process for all payment gateways is usually the same:
- You visit their website and sign up for free.
- You are then asked to upload scanned copies of documents as part of their KYC process.
- You then need to wait a few days for them to get partner bank approval to start using the payment gateway.
How To Add A Payment Gateway To A Website
Once you are approved to use a payment gateway you can add the payment gateway to your website. The process of adding a payment gateway to a website is known as payment gateway integration.
This process requires coding on your website and access to an online database for the storage of payment records. Payment gateways offer code libraries and API access for this.
If you use a website builder tool such as WordPress/WooCommerce, Magento, Prestashop, etc. these payment gateways make your job simpler by offering payment gateway plugins.
In some cases, they also offer payment links. These are links to payment pages with their payment gateway already integrated.
You will find this information on your payment gateway's website in the Developer section. If you can't find it, ask their support team to help you.
Use A Payment Gateway On Your Website With payMyPage
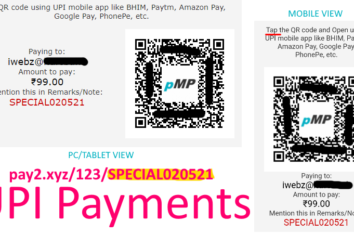
payMyPage (pMP) offers payment links where you can use more than one payment gateway on the same payment page without any coding.
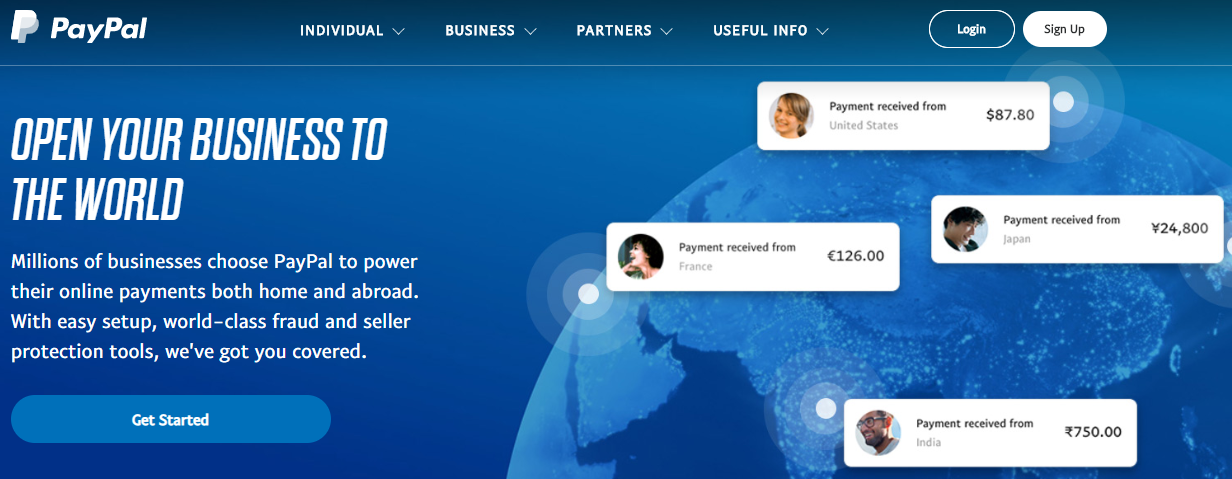
This is especially useful when you need to use an Indian payment gateway such as Instamojo or Cashfree for domestic sales, and an international payment gateway such as PayPal for international sales. pMP automatically uses the Indian payment gateways within India and the international payment gateways for other countries.
Adding a payment gateway is as simple as filling in the details to activate the payment gateway module. You also get plenty of features to go with this functionality.
Additionally, each page also has its own short link which also has additional useful functionality such as passing a unique code for each payment. You can use this unique code to identify your customer/order/invoice.
Once you have activated your payment gateway module and created payment pages for each of your products and services, all you need to do is add the short links to your web pages to start accepting online payments.
You can use pMP short links on any website including on Google Sites, GitHub Pages, Weebly website pages, Shopify Store pages, Facebook Pages, Twitter posts, WhatsApp messages, text/SMS messages, etc.
You also get to use the pMP service for free for as long as you need. Upgrade only if you need additional features.